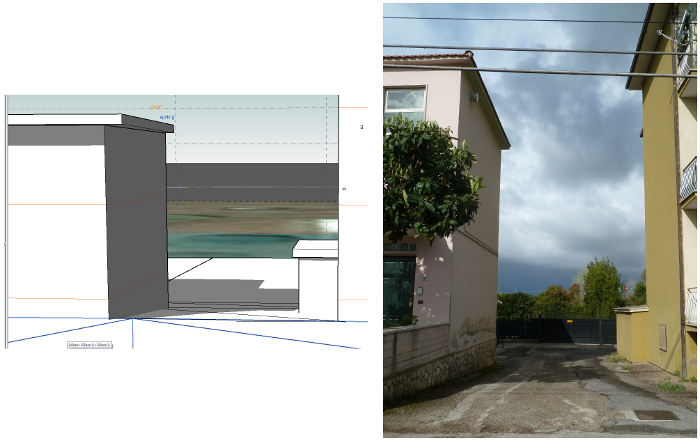
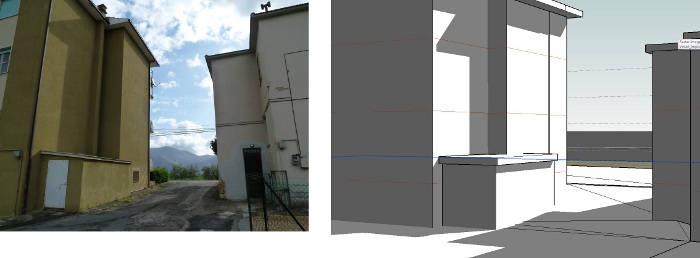
Esercitazione1_Vasari_Project
I pick to analyse with Vasari Project two buildings in Latina Scalo, near where I live. Now I'm going to explain the phases to how create the 3D model of my buildings and start the test of the shadows. At the end I can compare the real shadows with those create with Vasari.
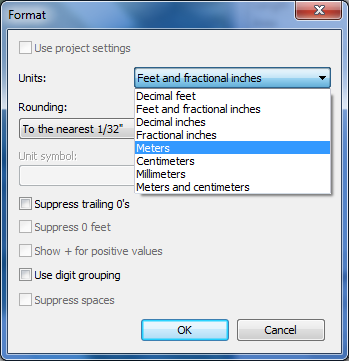
First of all I have modify the units of the measure with the PROJECT UNITS on MANAGE menu.
Second step, I need to set the location where the buildings are, so I click to LOCATION in the ANALYZE menu. The blue area is the work plane.
I open the window LOCATION ADN WEATHER SITE where I can specify the geographical location of the project with the exact address and the Weather Station,

then,I click to IMPORT SITE IMAGE and I zoom to area where I'm going to work, and click IMPORT

Now I have my plane work, so I can start to create my building. I open the CREATE MASS menu and with the LINE command I create the perimeter of the figures. Since I have already created my 3D model (the masses of the buildings and the roof's overhangs), I show how I have modified it to make it closer to reality, because before I haven't drawn the incline plane between the masses. So I select the work plane where I want to draw my figure and use LINE to create it.
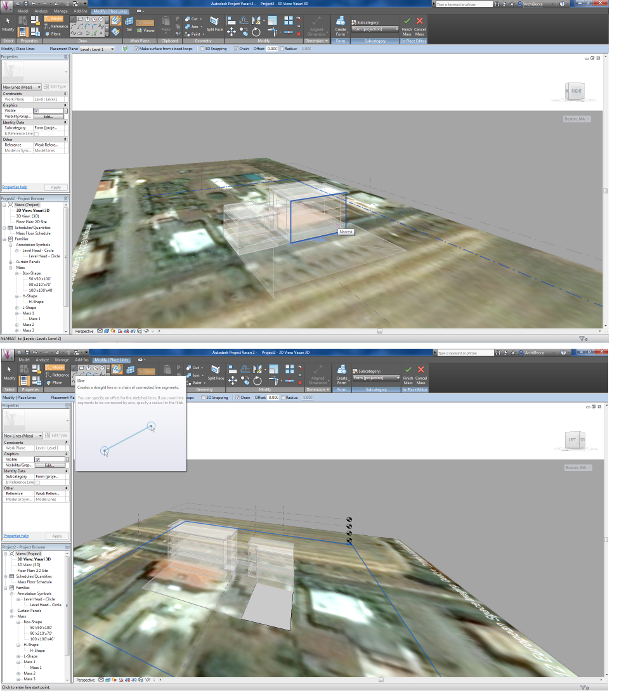
Then I use the CREATE FORM command to make a 3D mass which I can modify the hight according to real. After that it's very important click FINISH MASS.
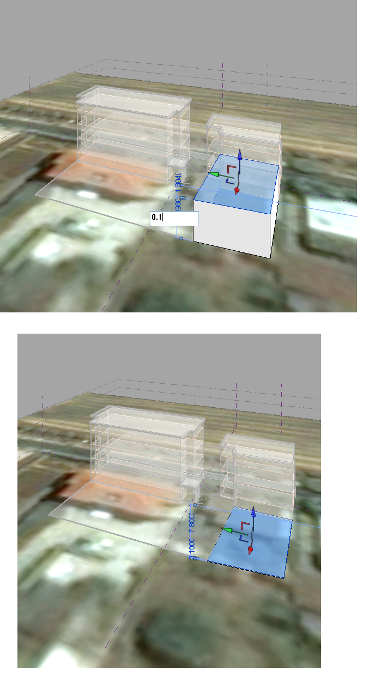

Now I have my new 3D final model.
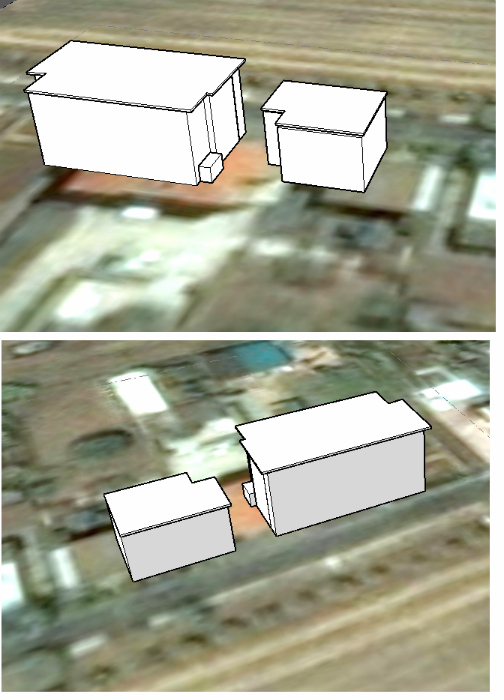
These images refer to the old model, but I thik it's good one.
After the creation the 3D masses model, I have set the "sun path" with the command SUN SETTING in MANAGE menu.
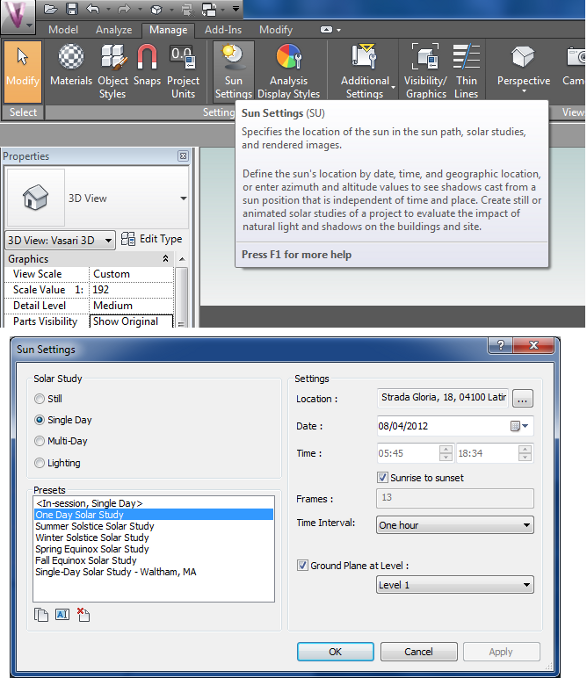
I can choose a particularly day that I'd like to study the sun path, and the precise time. In my case I pick to study the sun in 8 april. For see the shadows of the buildings I need to click the command SHADOWS ON.
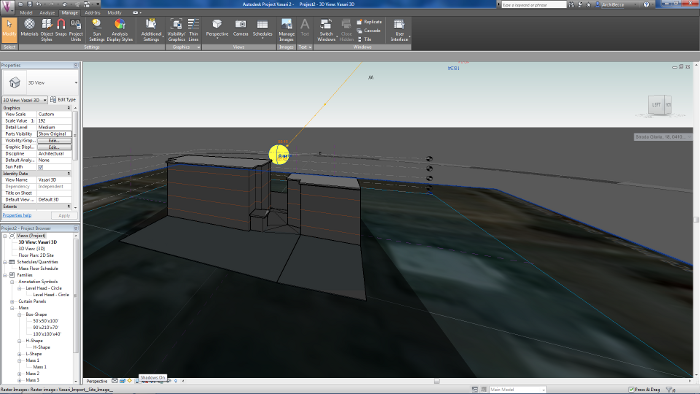
Now I can compare the shadows in Vasari with the real shadows. It's the 13:40
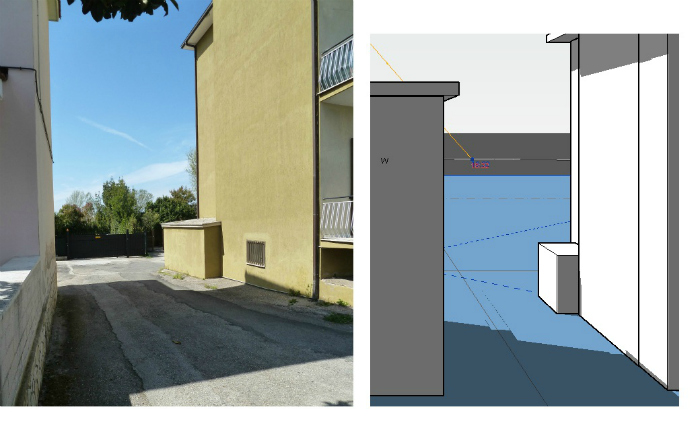
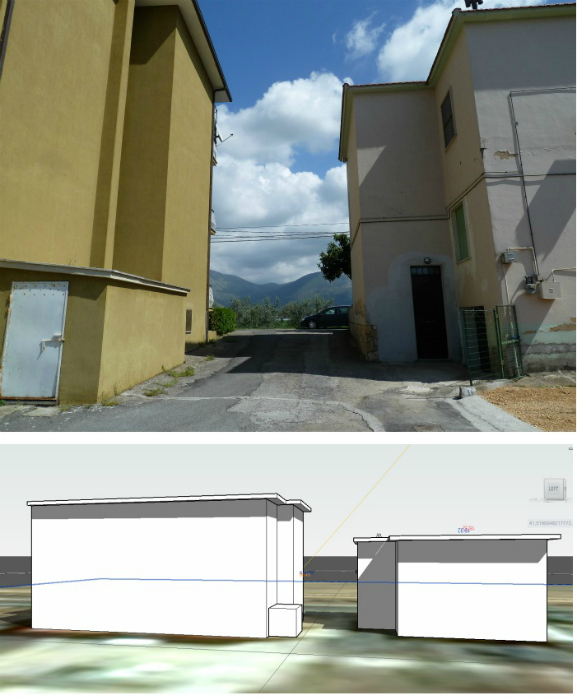
This is the comparation with the old model. And that is the new comparation. It's the 9:33
