Tu sei qui
PINUS PINEA_altezza 20m_larghezza chioma 10m_Jackson Cuevas Lira_Eva Meirsschaut
PINUS PINEA
Descrizione
Pinus: nombre genérico dado en latin al pino.
pinea: epíteto
Miden entre 10-25 metros de altura, su tronco llega a medir entre un metro, un metro y medio, cuya copa es de 3m de altura y una dimensión de 6-12 m.
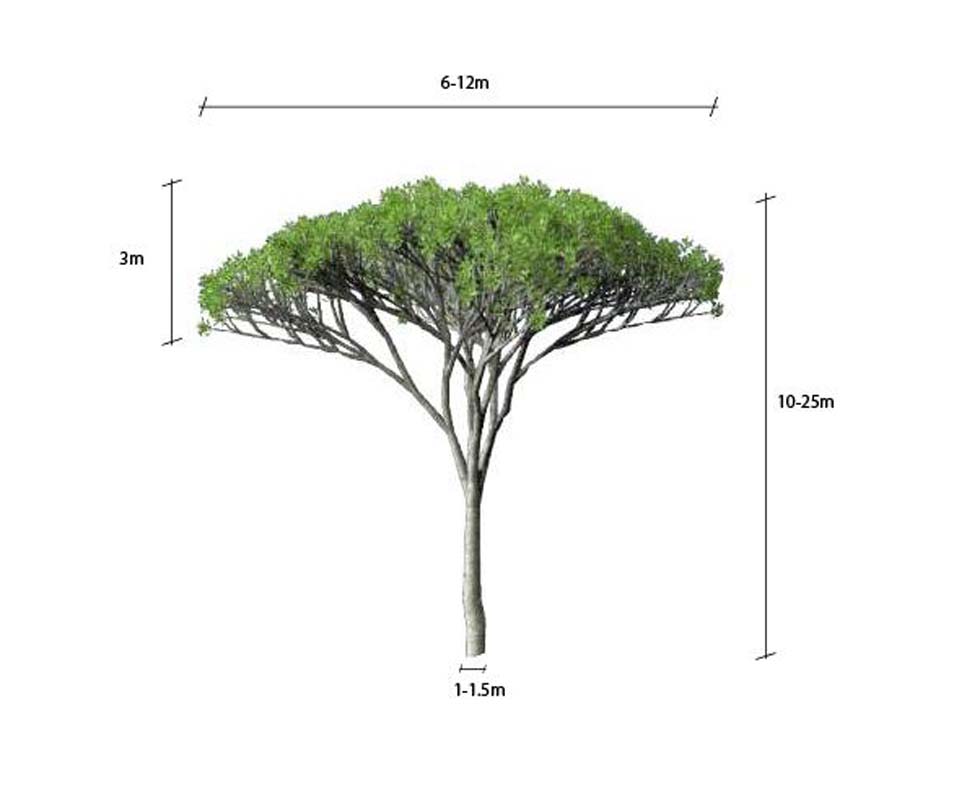

El pino piñonero crece para después abrirse mediante ramas de similar grosor en una copa redondeada y achatada, en forma de sombrilla. La superficie del tronco se caracteriza por disponer de placas de color grisáceo, separadas por grietas rojizas. Prefiere los suelos arenosos.
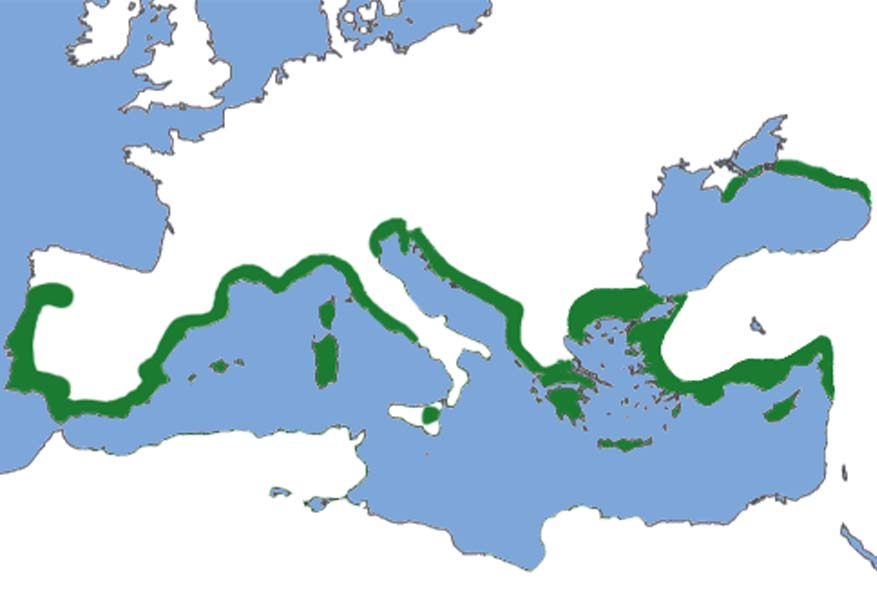
Pinus pinea es natural de toda la franja mediterránea, siendo en la Península Ibérica más habitual en la zona centro y sur. Se desarrolla normalmente en un rango de alturas que van desde el nivel del mar hasta los 1000 ó 1200 msnm, formando bosques mono específicos preferentemente en suelos silíceos.
Es una especie (heliófila), resiste muy bien la sequía estival y soporta heladas no muy extremas. El Pinus Pinea tienen una hoja perenne la cual mantienen el color verde durante todo el año.
Las piñas son ovalo-esféricas de entre 10 y 15 cm de longitud y maduran al tercer año, dando unos piñones cubiertos de una dura corteza, de 1 cm de longitud, carnosos y sabrosos, pudiendo haber piñas en su primer año de maduración junto con otras listas para ser recogidas en la copa de un mismo pino piñonero
La madera
Corteza marrón-rojiza, con placas también rojizas, con una pequeña vaina membranosa que rodea la base.
La madera es ligera y flexible. Se la puede utilizar en carpintería y en estructuras, en particular, en la construcción marítima. También se puede utilizar ésta para hacer carbón vegetal.


Se encuentra en un clima subhumedo, requiere de mucha luz, caracterizados por veranos secos y calurosos, hasta 5 meses de sequia, e inviernos suaves y lluviosos, temperatura media sobre los 0ºc y precipitaciones anuales 600-800 mm.
Modello
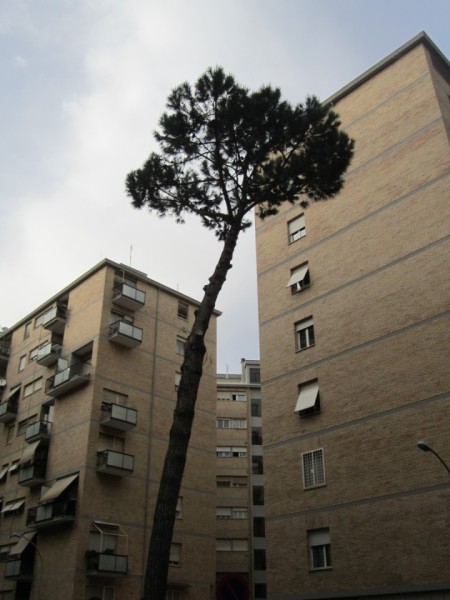
I started by taking pictures of a Pinus Pinea near my home, as a basis for the 3D model in Vasari.

I open a new Family in Vasari and click on the Mass template.


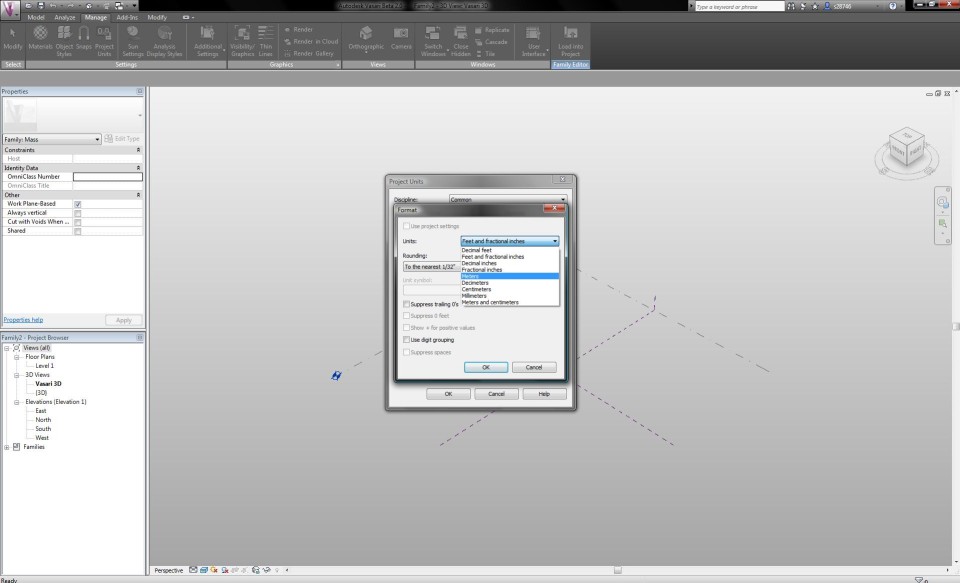
The template is now loaded. I choose the tab Manage and click on Project Units to set the right measurements and units.
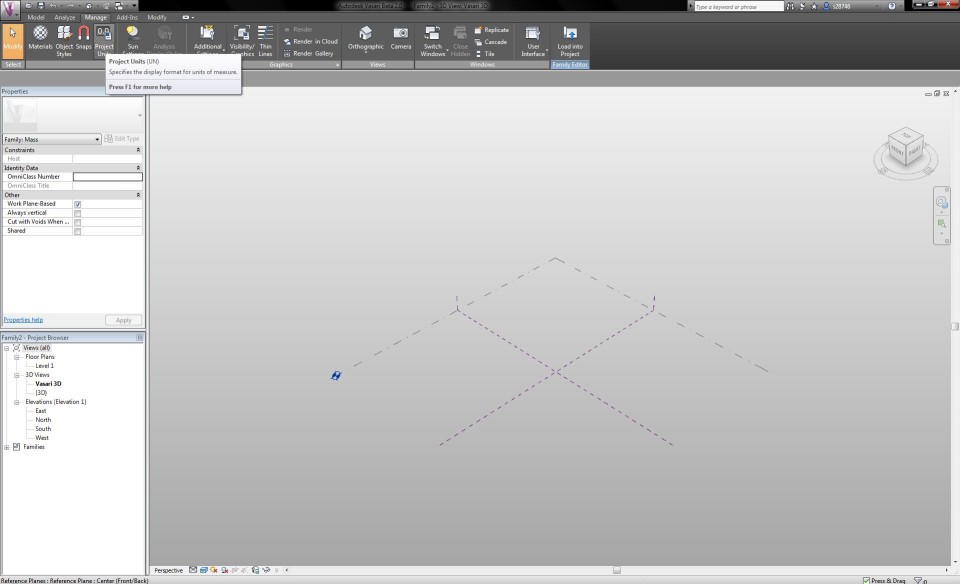
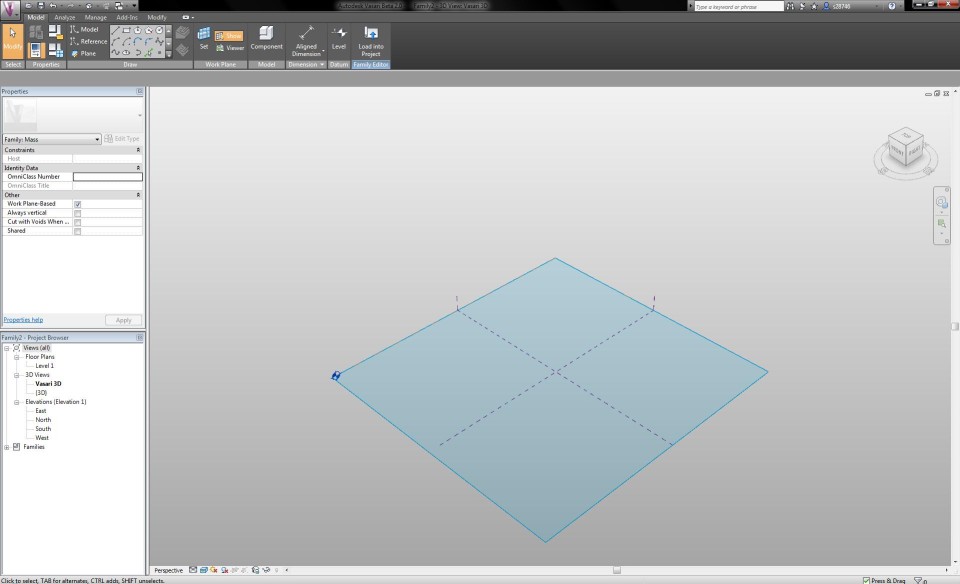
I check if I am working in the Vasari 3D View and click on Show in the tab Model, to display the work plane.
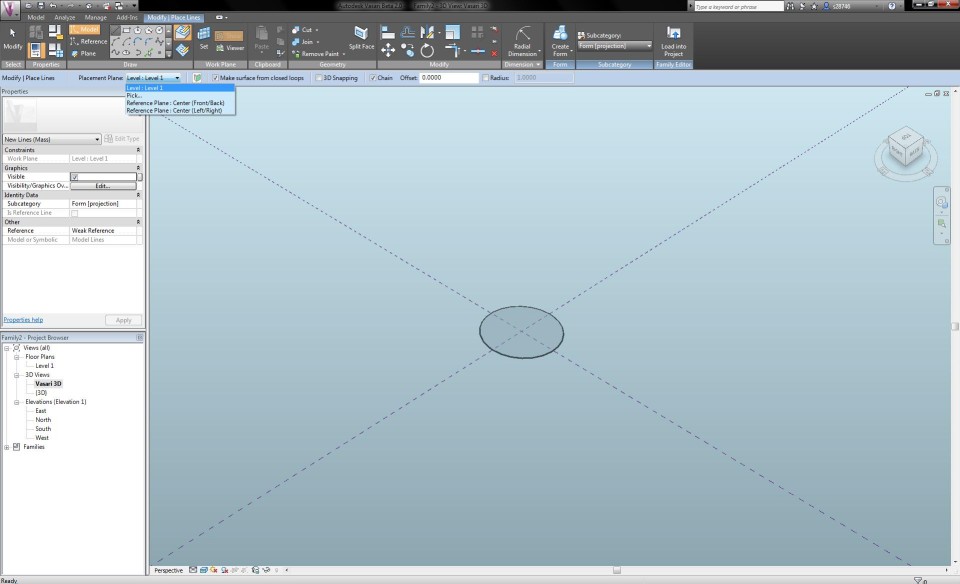
I start to draw the trunk of the tree with a circle (Modify tab) by clicking on the panel Model. In the drop-down menu Placement Plane I can see which level I'm working in. The radius of the circle is 0,5m.
I can adapt the radius of the circle by clicking on Radial Dimension in the tab Modify. I select the line of the circle and fix the dimension arrow by clicking in the circle. I select the arrow and choose in the drop-down menu Label <Add Parameters>. I call the arrow "r1 tronco" and choose for the Parameter Type "Family Parameter" and for the Parameter Data "Type".


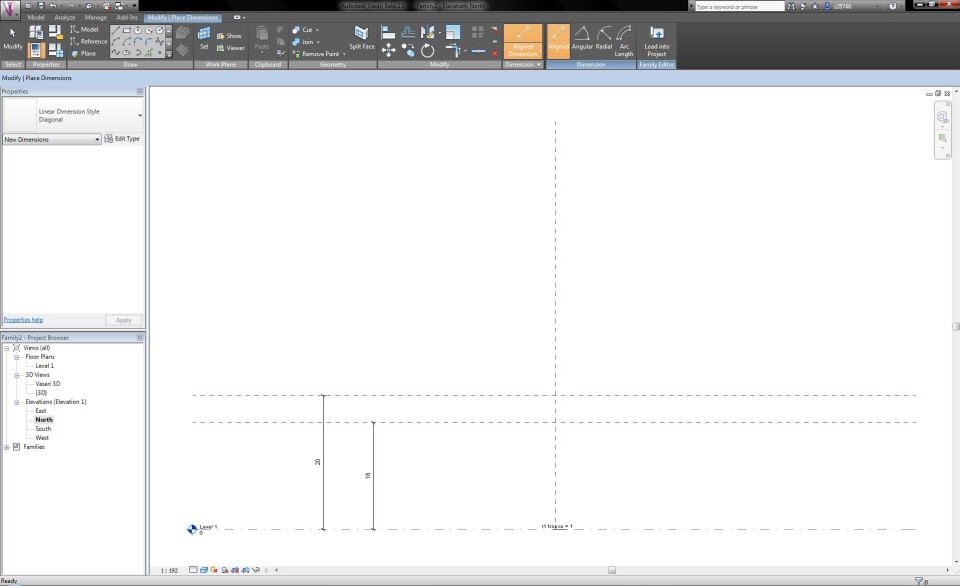
Now I dubble click on the North Elevation View. I draw two Reference Planes, one that defines the total height of the tree and one that seperates the trunk from the crown of the tree. I click on the button Aligned Dimension in the tab Modify and define the height of the reference planes. I assign them with the names "h albero" (20m) and "h tronco" (16m).

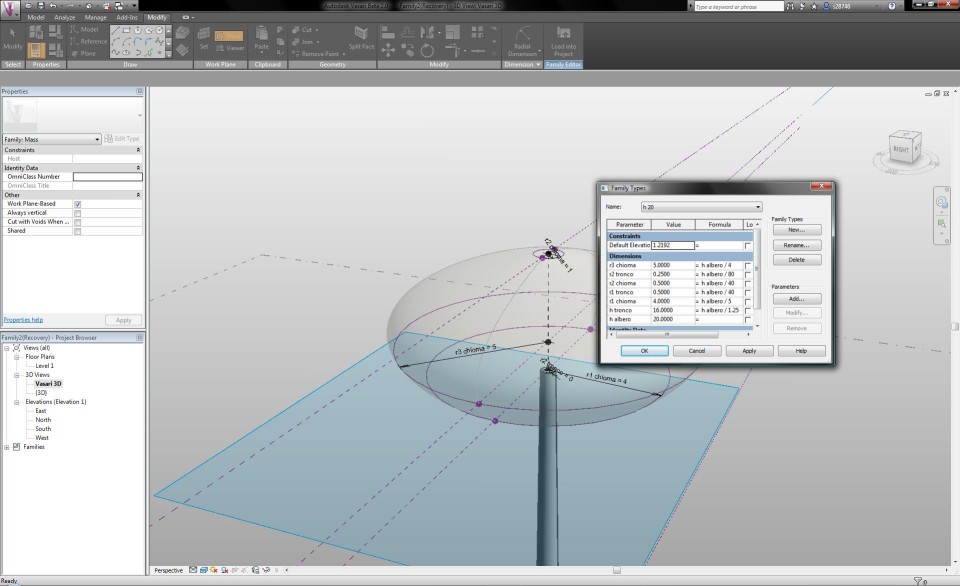
When I select the button Family Types in the tab Modify, I can define the height of the tree and make it vary according to the height of the trunk and the height from which the crown starts.

I go to the Vasari 3D View and extrude the circle to a cylinder with a temporarily random height. I return to the North Elevation View. In the tab Modify I click on the button Align to extrude the cylinder up to the first reference plane that indicates the height of the trunk, by first clicking on the reference plane and then on the top circle of the cylinder. To fix the heigth of the cylinder, I close the lock that appears on the reference plane.

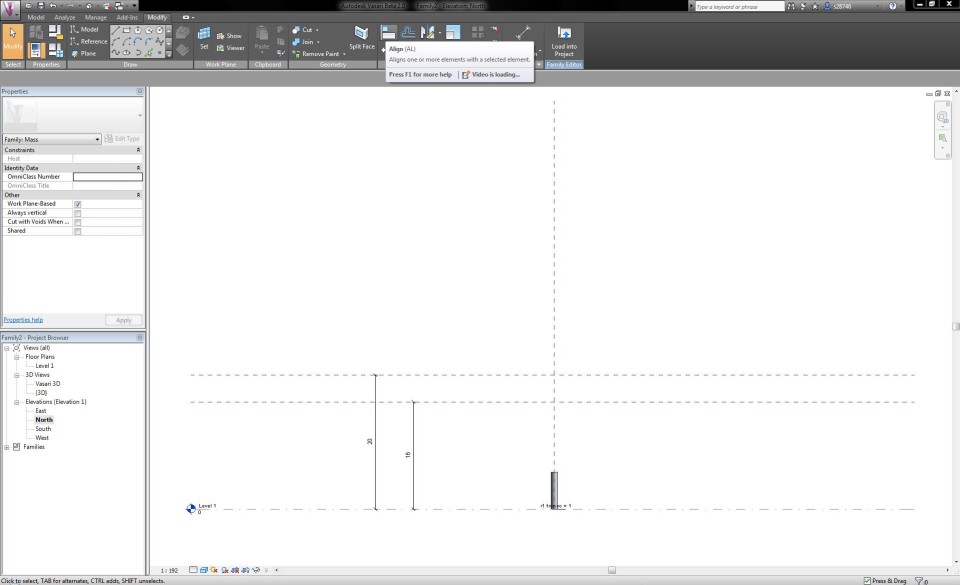
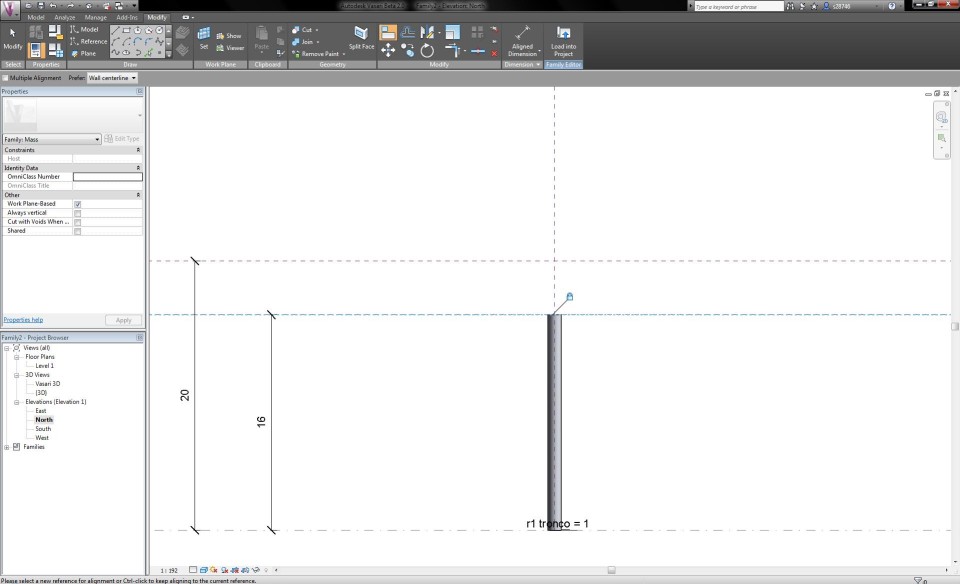
I go back to the Vasari 3D View, select the cylinder and click on the button Edit Profile in the tab Modify. I select the upper circle and assign it a radial dimension with a parameter, which I call "r2 tronco". I edit the radius of the circle to 0,25m, this way I become a volume that is slightly growing thinner towards the top. To close the edit mode, I click on the Finish Edit Mode button. I add this new parameter to the Family Types panel and make sure that the features accord to each other.

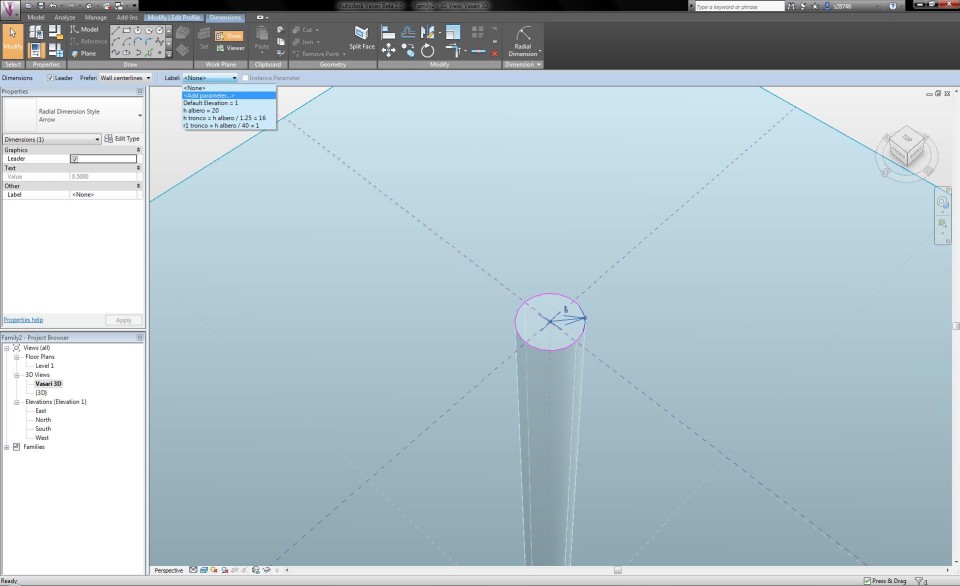
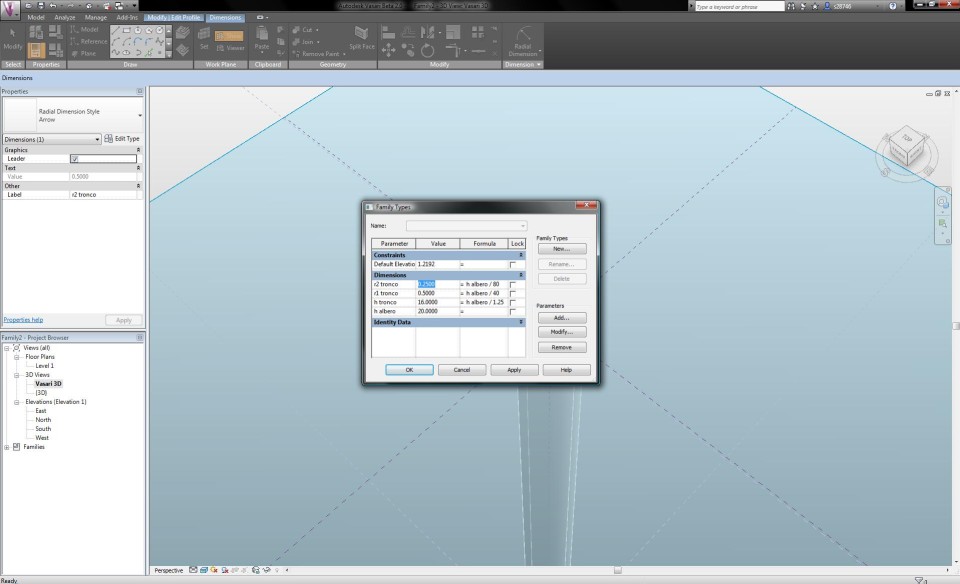

Now I can begin to make the crown of the tree. With the button Set Work Plane I define the work plane on the height of the upper circle of the cylinder. I draw anoter circle with a radius of 5m, which defines the width of the crown. Once again, I apply a radial dimension and a parameter, which I give the name "r1 chioma". In the North Elevation View I extrude the circle in the same way as the trunk, according to the upper reference plane. This way, I become a primitive shape of a Pinus Pinea tree.


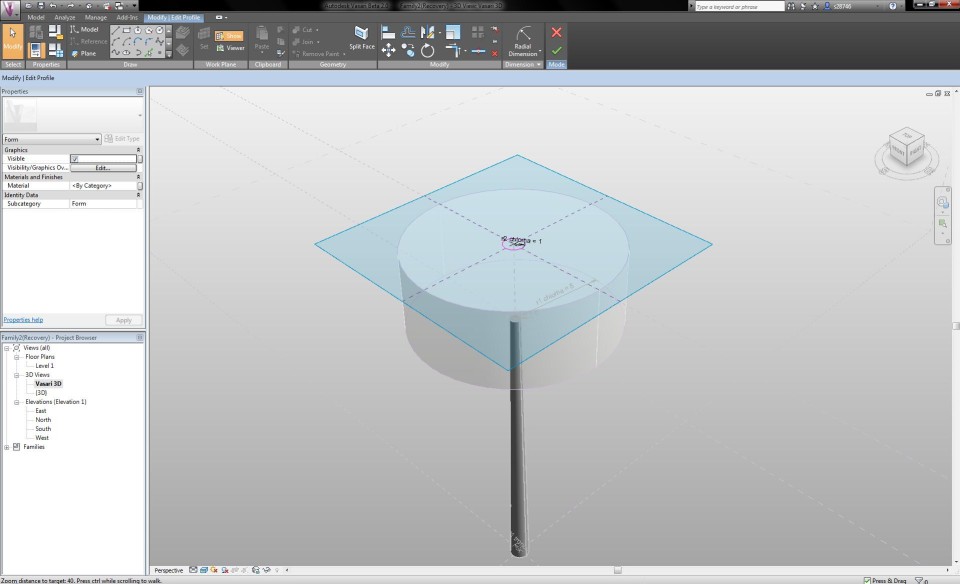
Now I can start modelling the crown. First I click on the button Edit Profile to assign a radial dimension and parameter to the upper circle of the crown. I give it the name "r2 chioma" and change the radius to 0,5m. This way, the crown acquires a conical shape. I select the crown volume and click on the X-Ray button in the tab Modify to have a clear sight on all the lines and dimensions.

I select the mass and click on the button Add Profile (Modify tab) to add a section that can change the form of the volume. In the North Elevaton View, I add a new reference plane, on the height where the transformation has to take place. With the Align-tool I align the circle with this reference plane and lock it. I assign the new circle a radial dimension and parameter, with the name "r3 chioma".

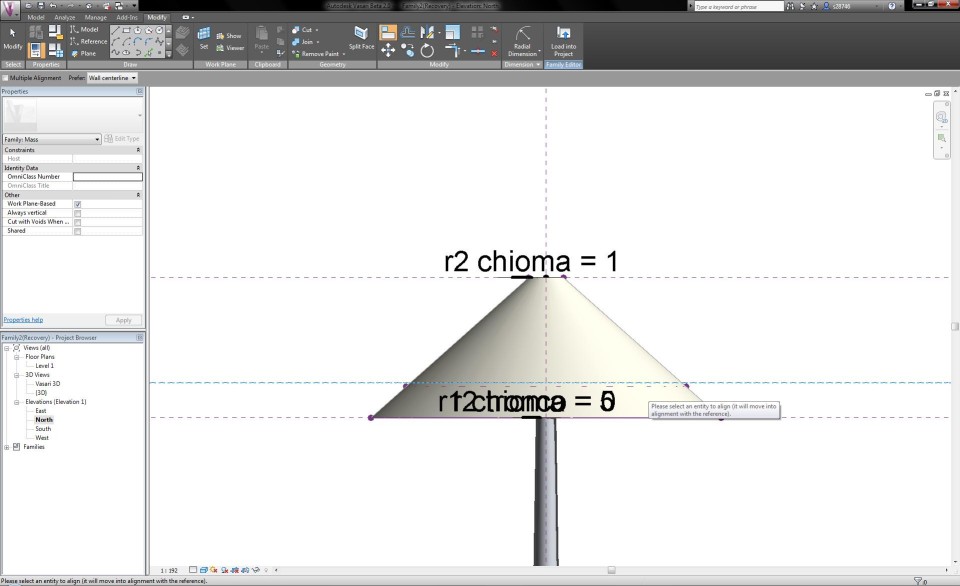
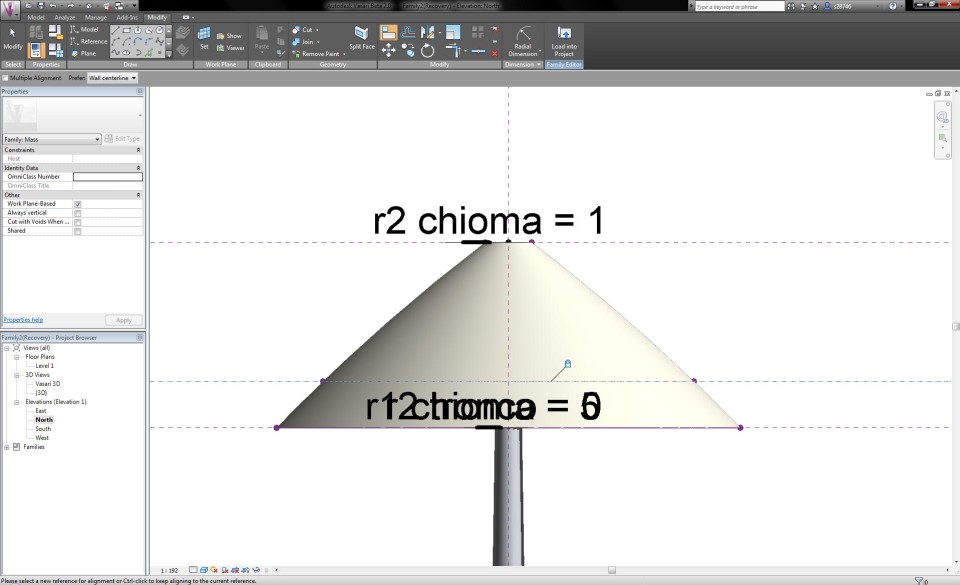

By changing the features in the Family Types menu, I am able to adapt the radius of the circles according to the height of the tree, which results in a transformation of te shape. This way, I become an impression of a Pinus Pinea tree.


Studio del luce
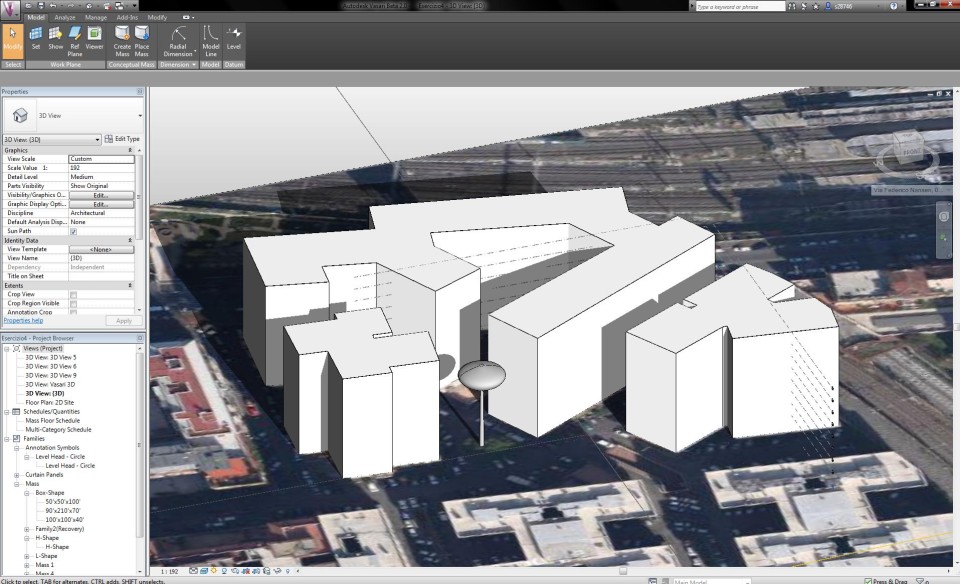
I applied the model of the tree into my model of the first exercise and placed the tree in the right place. Then I added a sun path to see the light affecting the tree.

Current situation: 30 aprile 2013 - 18:00

Summer solstice: 21 giugnio 2013 - 12:00

Winter solstice: 21 dicembre 2013 - 12:00
| Allegato | Dimensione |
|---|---|
| 336 KB |
