Tu sei qui
Lab_6 Es_3 - Ipotesi del progetto LAB 6A - - Livia Terra e Suelem Leite
Procedimento
Procedure
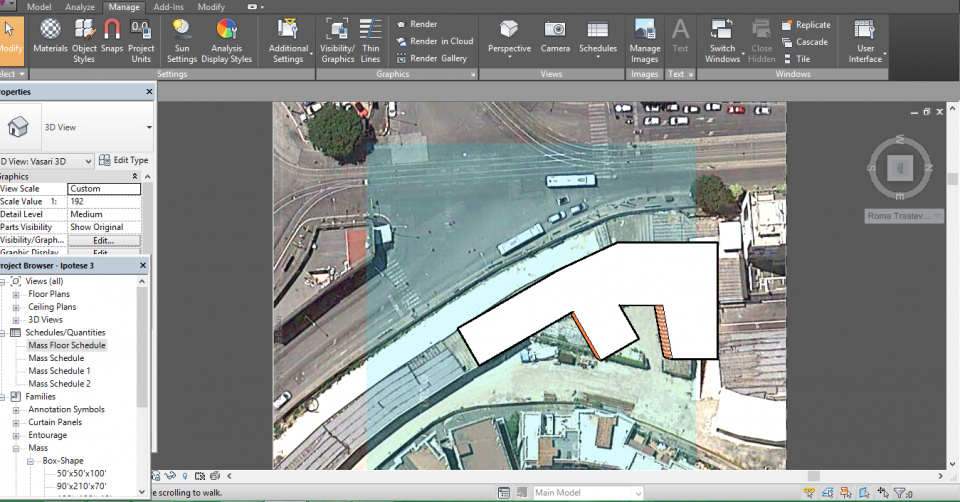
1. Aprire il file del Vasari e creare una massa con l'ipotesi di progetto.
Open the file on Vasari and create a mass with the hypothesis of the project.
2. Modificare il nome della massa, selezionandola e cliccando il pulsante destro del mouse sulla "Mass", che si trova sulla tabella laterale, e "Rename".
Modify the name of the mass, by selecting it and clicking with the right mouse button on "mass", located on the side table, and "Rename".

3. Se i livelli attuali non sono ancora sufficienti, fare clic su "Modello"> "Level" nella barra superiore e inserire l'altezza desiderata.
If the existing levels are not yet sufficient, click "Model"> "Level" in the top bar and enter the desired height.


4. Regolare l'altezza dei livelli cliccando su di essi e fare le modifiche necessarie sulla tabella laterale. Modificare anche i nomi, li rinominando nella stessa tabella.
Adjust the height of the levels by clicking on them and making the necessary changes on the side table. Also modify the names, renaming them in the same table.

5. Per affettare la massa secondo i livelli regolate, selezionare la massa e fare clic "Mass Floors" nella barra superiore.
For slicing the mass according to the adjusted levels, select the mass and clicking "Mass Floors" on the top bar.


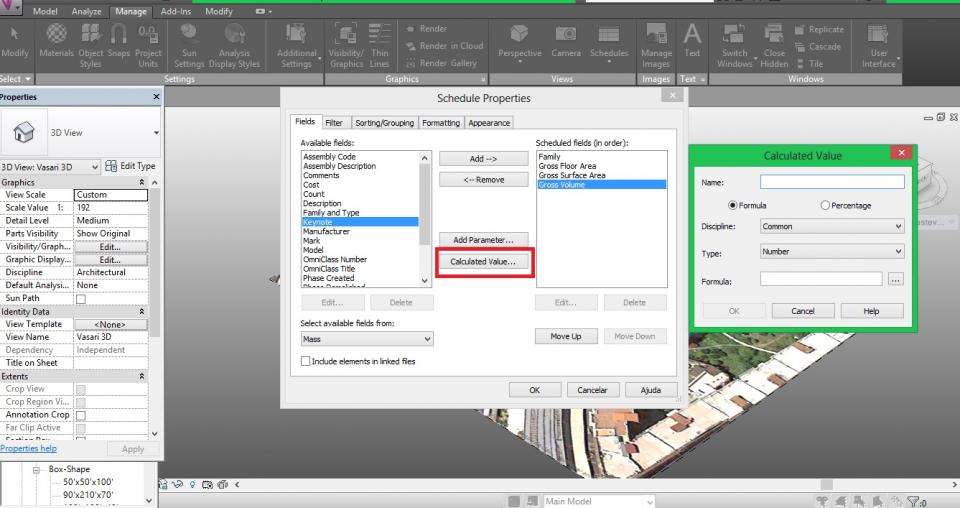
6. Per creare la tabella, fai clic su "Manage"> "Schedules"> "Schedules / Quantities". Quando si apre la finestra, selezionare "Mass" e "ok". Aggiungi quante più informazioni necessarie per l'analisi, cliccando su di essi e "aggiungere". Per inserire dati specifici e calcolati alla tabella, selezionare "Calculated Value", un nome al campo creato e inserire la formula desiderata. Per modificare l'ordine della tabella, selezionare le informazioni desiderate e "Move Up" o "Move Down". Alcuni dati viene interpretato più chiaramente se non sono rappresentati in decimale. Per modificarle, fare clic sul campo e scegliere "Project Units", effettuare le modifiche necessarie.er affettare la massa secondo i livelli regolate, selezionare la massa e fare clic "Mass Floors" nella barra superiore.
To create the table, click on "Manage"> "Schedules"> "Schedules / Quantities". When you open the window, select "Mass" and "ok". Add as much information as needed for the analysis, by clicking on them and "add". To enter specific and calculated data to the table, select "Calculated Value", name the field created and insert the desired formula. To change the order of the table, select the desired information and "Move Up" or "Move Down". Some data is interpreted more clearly if they are not represented in decimals. To change them, click the field and choose "Project Units", making the necessary changes.


Area del lavoro
Area worked
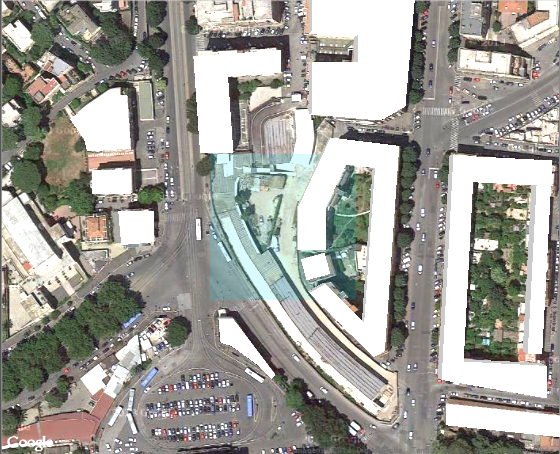
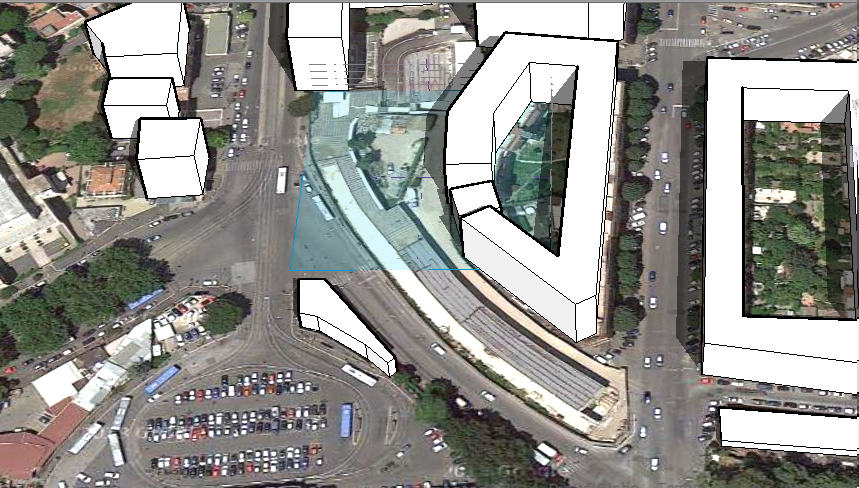
L'area scelta per il progetto è situata in prossimità alla Stazione Trastevere, dove ci sono residenze, negozi e grande vie di circolazione. È stata richiesta la realizzazione di 3000m ² residenziale e tra il 1500-2000m ² di servizio. Il terreno ha una forma complessa, e dintorni è caratterizzato dalla presenza di edifici alti e voluminose.
The area chosen for the project is located close to Trastevere Station, where there are residences, shopping venues and major thoroughfares movement. The realization of 3000m ² residential and between 1500 to 2000 m ² area of service was requested. The land has a complex shape, and its surroundings is characterized by the presence of tall and voluminous buildings.


Studio Solare dell'area
Solar Study of the area


7 a.m. - 04/04/14 8 a.m. - 04/04/14


11 a.m. - 04/04/14 13 a.m. - 04/04/14


15 a.m. - 04/04/14 17 a.m. - 04/04/14
Ipotesi 1
Hypothesis 1
Vista superiore
Top View

Vista Prospettica
Perspective view

Studio delle ombre
Study os shadows

Analisi Solari
Solar Analysis

Tabella 1
Table 1

Tabella 2
Table 2

Ipotesi 2
Hypothesis 2
Vista superiore
Top View

Vista Prospettica
Perspective view

Studio delle ombre
Study os shadows

Analisi Solari
Solar Analysis

Tabella 1
Table 1

Tabella 2
Table 2

Ipotesi 3
Hypothesis 3
Vista superiore
Top View

Vista Prospettica
Perspective view

Studio delle ombre
Study os shadows

Analisi Solari
Solar Analysis

Tabella 1
Table 1

Tabella 2
Table 2

