Tu sei qui
ES. 4_LAB 6C_PARAMETRIC VEGETATION MODELING_PLATANUS ACERIFOLIA_FRANCESCO PERSICHELLA
THE PLATANUS ACERIFOLIA
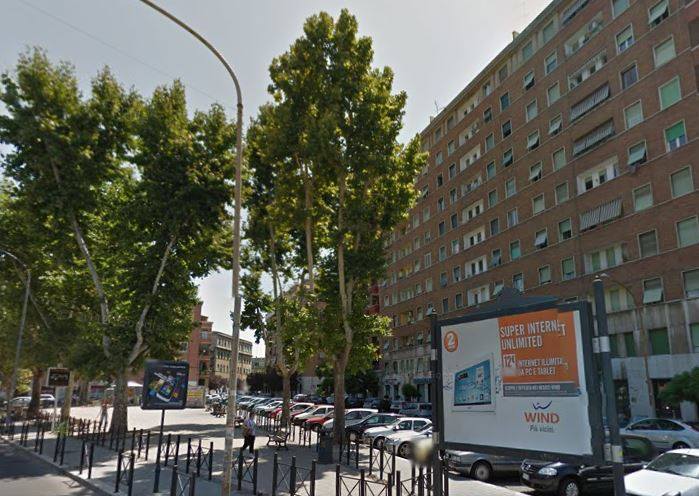
For the parametric modelling I chose the almost 17 m high PLATANUS ACERIFOLIA placed in Via Tuscolana, near my building.It's a type of tree quite common in Rome, often used as frames for avenues or as a shade tree. It is usually thought to be a hybryd of Platanus Orienalis and Platanus Occidentalis. The Acerifolia is a large deciduous tree growing 15-30 m high, exceptionally over 40m; with a trunk up to 3 or more in circumference. The bark is usually pale gray-green, smooth and exfoliating, or bluff-brown and not exfoliating. The leaves are thick and stiff-textured, broad, palmately lobed, superficially maple-like, the leaf blade 10-20 cm long and 12-25 cm broad, with a petiole 3-10 cm long. The flowers are borne in one to three dense spherical inflorescences on a pendulous stem, with male and female flowers on a separate stems. The fruit matures in about 6 months, to 2-3 cm diameter and comprises a dense spherical cluster of achenes

PROCESS
step 1) Start Autodesk Vasari and click on "Create a New Family" and then change the "Project Units" in the Manage menu.
step 2) We have to create different "levels". So we start rename the Level 1 (the ground level) as "Base Tronco".
step 3) Using the "floor plans" view I drew a circle with radius 0.50 m that will be the base of the trunk. Then click on "radial dimension" in the "dimension box" and select your circle. I added the dimension that will be parameterized by going in the "Label Box", then clicking on "Add Parameters". Then extrude your base and use the "Align" tool to align the upper surface of the trunk with the level created at the height of the base of the foliage.


step 4.) Now we need to create the Foliage. We have to create two circles, one on the upper part of the trunk and one on the upper part of the foliage level. Then create a line aligned with the two circles. In the line "properties" check in the "identity data" the "is reference line" box. Now select the two circles and the line and then clinck on "create form" for create the mass of the foliage

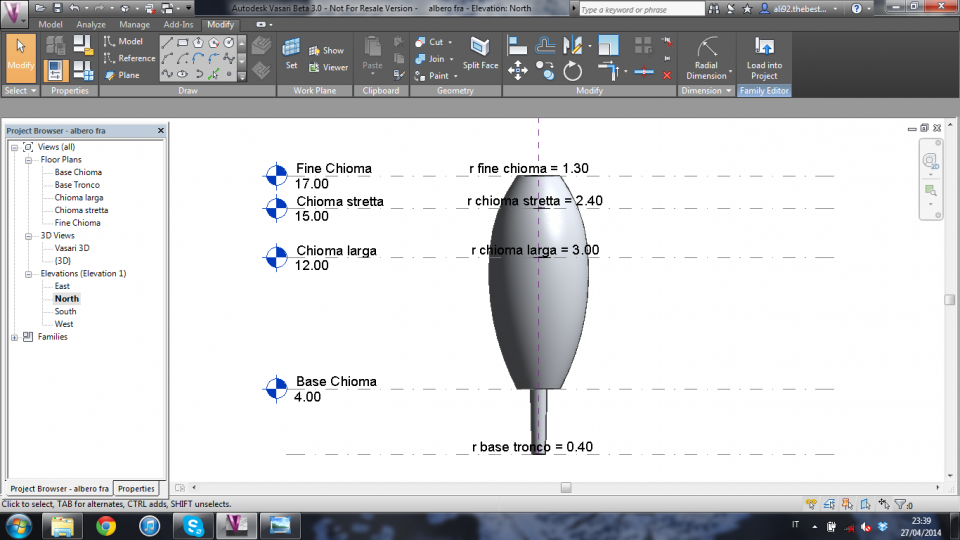
step 5) To give the Foliage its real shape we have to select the foliage volume and click on "X-Ray" so we can see through it, then we select the tool "Add Profile" to create more sections and align them with the levels you have created before, then we have to define each radial dimension. Now the job is done and we have our parametric tree.


The final 2D sight of the tree and its levels

| Allegato | Dimensione |
|---|---|
| 344 KB |
