Tu sei qui
1_ES Lab_6 - Shadows Analysis - Lorenzo Pagliara_Gianmaria Zonfrillo
Basics to concept modeling
Esercitazione 1: Building a house and perform shadow analysis
Part 1: Opening and setting a metric paper:
Start Vasari (right clicking on it and running as administrator)

On the Vasari's homepage select "New Metric"
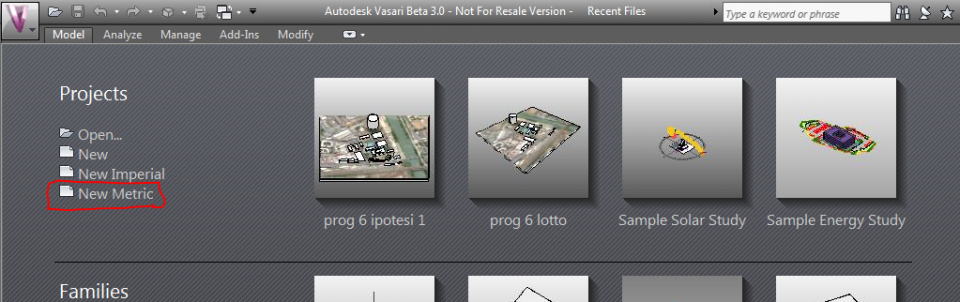
This will open up an empty paper with metric system units, this paper uses millimeters as default measure of lenght, you can change that to meters by clicking on "project units" in the "manage" menu.
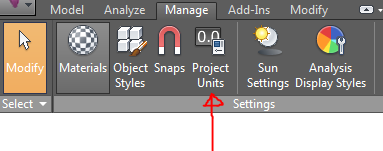
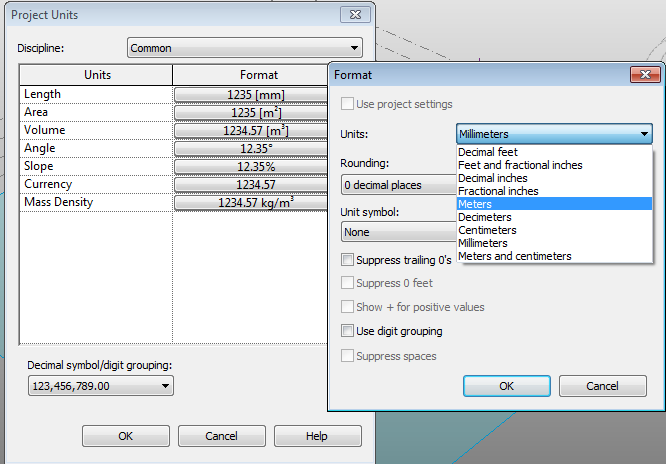
This will open up a window showing project units in use, you can change anything you like by clicking on the box in the "format" column.
Part 2: Setting a geolocation and importing a site image:
The location of the project is used by Vasari to calculate the sunpath and the environment properties, it is mandatory to select a location (unless your project isn't locate in Boston, which is the default Vasari's location).
To do that click on "location" in the "analyze" menu.
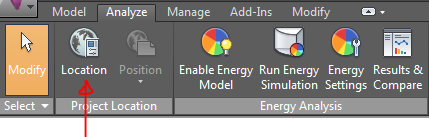
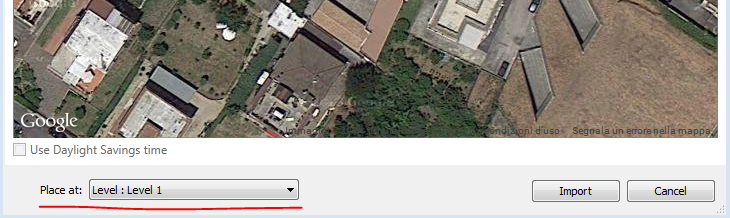
This will open up a window in which you can look for the address and import an image of the site (pay attention to import the image on the ground level.
Part 3: Drawing on vasari:
Vasari is a software designed for concept modeling, this means that the drawing procedure will start by shaping volumes which will be detailed afterwards.
Setting levels and picking workplanes:
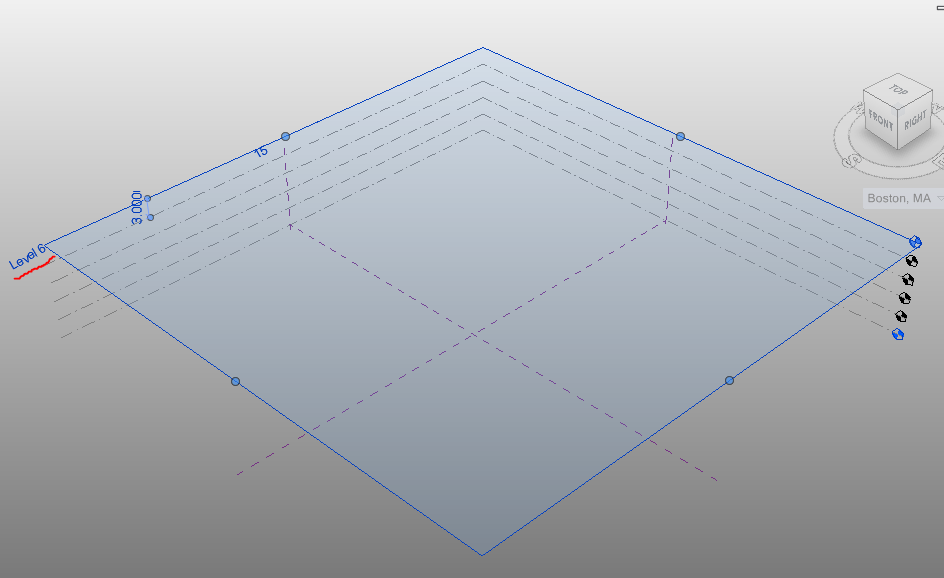
Level are much important during the modeling process as they represent the height of items. It is advisable to create a number of levels equal to the amount of floors on our project. You can create a new level in the "Model" menù by clicking on "level.

In our situation we have 5 floors, each 3 meter high, so we'll need 6 levels, as a default Vasari has already 5, so we'll just add one.
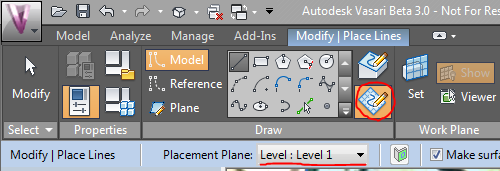
Levels are also important as they can be used as workplanes, a workplane identifies the area on which the software will place the drawing/mass you are working on, selecting the workplane is the first thing to do each time you are willing to modify or add something to your model.
It is possible to select a workplane by clicking on "set" under the "model" menu.

This will open up a window in which you can either select a level from the list or pick a different plane directly from the model.

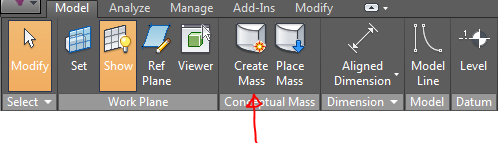
To create a volume click on "create mass" on the "model" menu.
There are various drawing tools that can be used to draw the ground level of our mass, we used manly the line, in our situation we were drawing following the satellite site image, to do that there are two helpful tips:
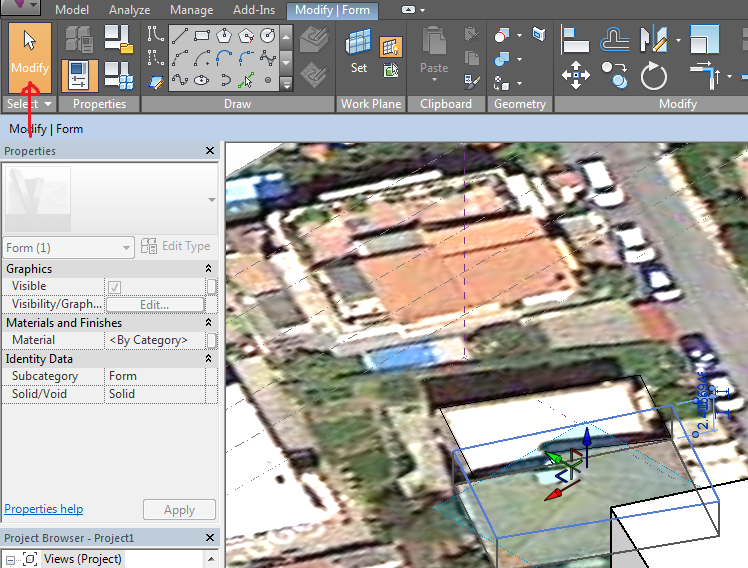
1. Draw on workplane: select "draw on workplane" over "draw on face" on the modify menu, drawing on a site image may cause distortion in the view output.
2. Set a proper top view: it is much easier to draw on a image without mistaking if you look it the right way, first of all click "top" on the viewcube, then select "default 3D view" on top of the screen. This will place the camera right on top of the site image with parallel projection viewport.

It's now possible to draw the ground level of a building very precisely, pay attention in drawing close shapes se that the software reads it as faces which is possible to extrude. Once finished drawing you can change back your viewport and extrude using the modify tool.
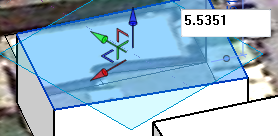
If your willing to you can specify the hight of any mass you draw by directly clicking on the box that shows the numeric value and change it.
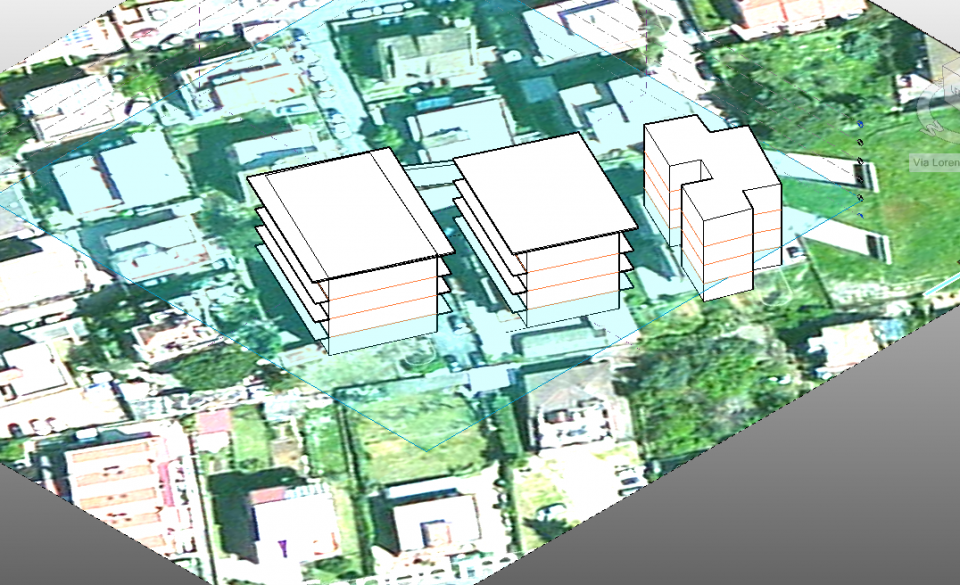
Once all faces have been extruded click on "finish mass"
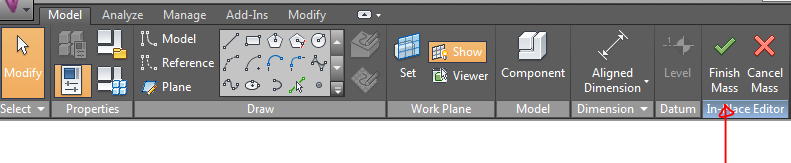
Repeat this operation for each mass, or else the software will see all masses like a single block and it will be difficult to add deatails to them.
Once our concept masses are created the software has many utilities to refine and detail our building, first of all we'll add mass floors to our bluinding which will then help us place items such balconies and windows.
Click on a mass and select "mass floors" under the "modify - mass" menu.

A window will open up to select on which levels of the mass Vasari will place mass floors.
To add more detail to the shape of our building we can create void forms, a void form is a form you use to create holes in your model, creating a void form is very similar to creating a normal mass except that, after defining the shape you'll have to select "void form" under "create form". A void form can be extruded and manipulated like a normal form.

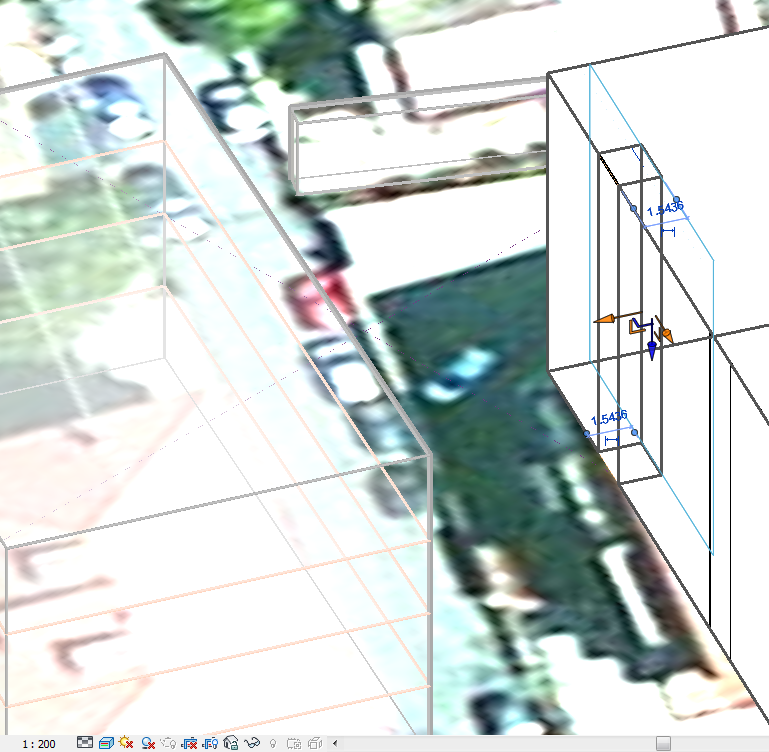
The are many ways of adding elements that come out from the building, it is useful to set always the right workplane to draw mass shapes, not doing that could result in a lot of frustration. it is important to add to the model any horizontal and vertical shading as this will result in a more precise solar analysis.
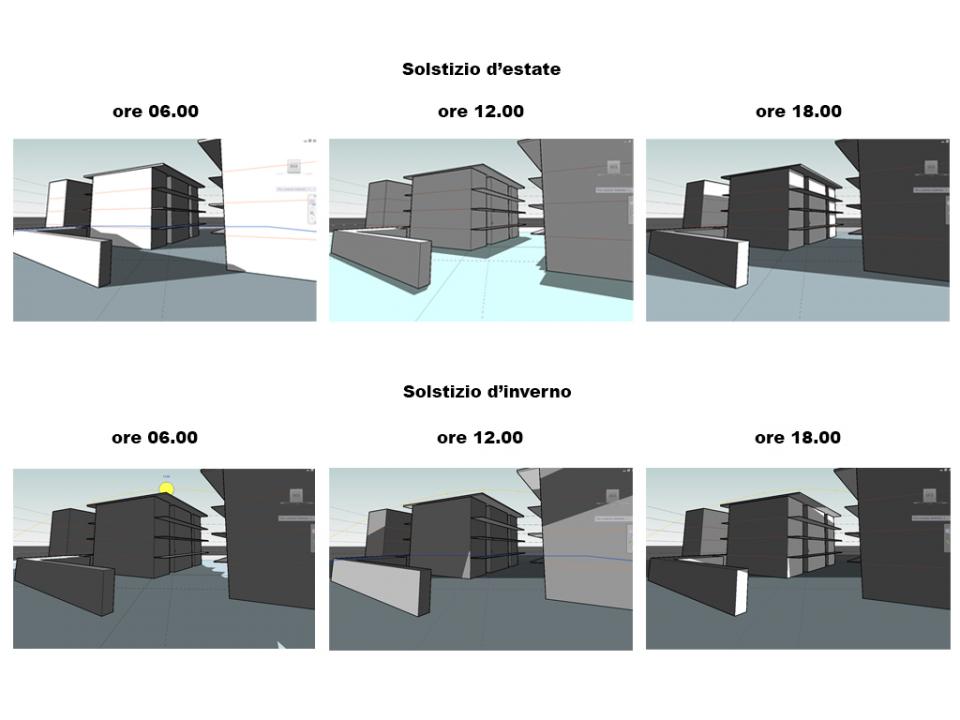
Part 4: Sun path study
You can access the sun and shadows setting in the lower panel of Vasari, by clicking on "sun path on" you will activate a sun model which can be moved around the path of the sun based on your geolocation, it's useful to activate shadows also to be able to see when the model is shaded or shades the sunroundings.