Tu sei qui
Lab_6_ES_4_Vegetation_Analysis_CarmineVanderLinden_EbruSevik_AGGIORNATA
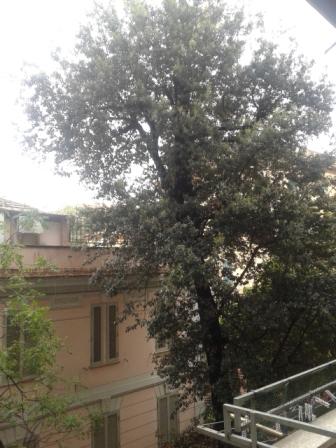
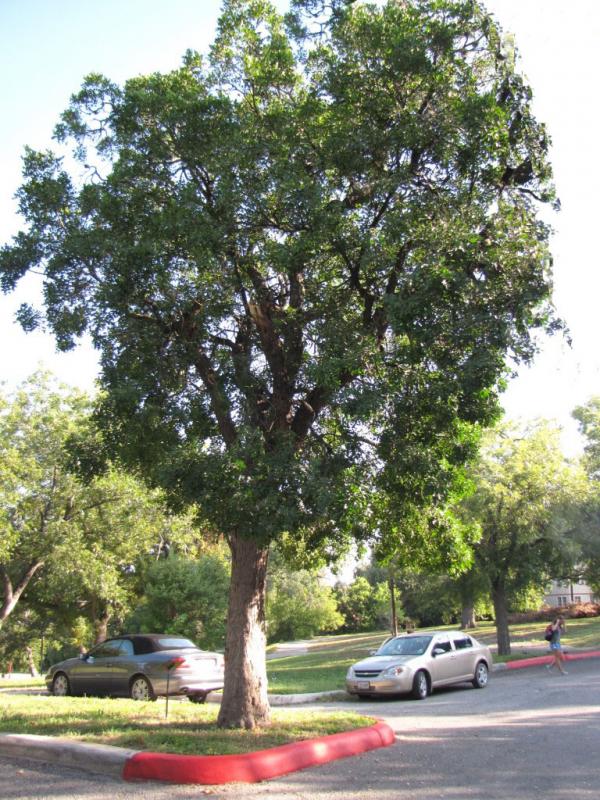
This is the photo of the tree that we took as a reference.


The tree is called a laurel nobilis, native to the Mediterranean region. The one tree we took as a reference is about 19m heigh. It is an evergreen tree, which means that it stays green in each season. İt ıs a tree that gives a lot of shadings because of its big leafs.
Modeling
We opened the Vasari and then opened the “New Conceptual Mass” under the Families icon.

After this we changed the project units into centimeters.

We gave all levels a name, like in the example picture, first the base level, then the trunk, crown and top.


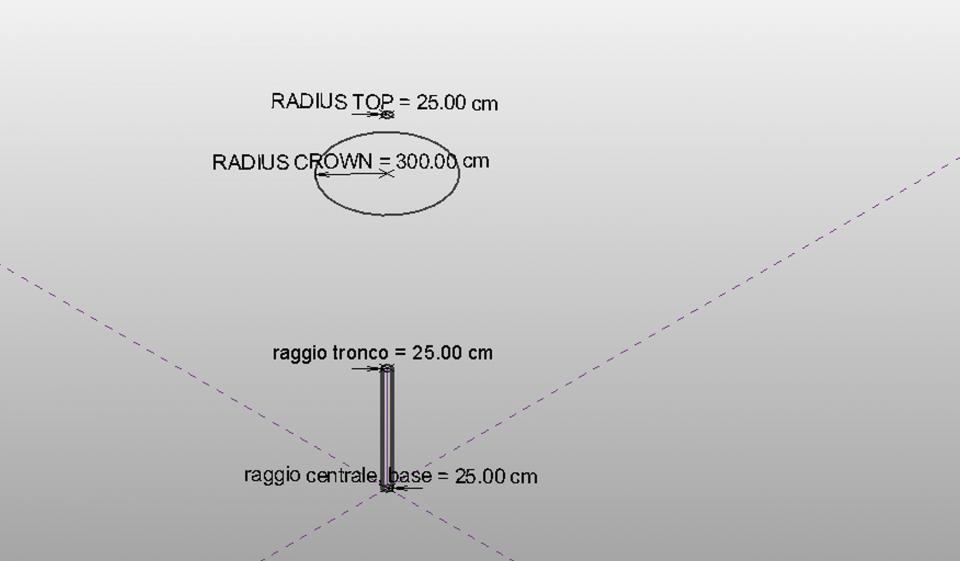
After this we created a circle on the BASE. This will be the circle of the trunk. We gave it a radius of 25cm and by clicking on it above on the screen appeared Label, we opened it and added a new parameter and give it the name `raggio central base`.

Afterwards we selected SET and clicked on the vertical level. Then we draw a reference line which is the same as the height of the trunk. So we drew a line from the center of the circle upwards to level 2 `trunk`. By clicking on the reference line, we made sure both locks were locked.

By clicking on both the circle and the reference line with `Ctrl`, we extruded them with the tab `create form`. By clicking on the circle on the second level we also gave this one a name `raggio tronco` like we did the first time drawing the circle.


Now we also drew the circle for the other levels, crown and top and gave also these radiuses a name. The circle of the crown got a radius 3m.

By selecting all the tree circle (without the base circle), we extruded them with the `create form` tab.

Afterwards we also gave the heights a name, again by selecting them and above with the `add parameter` tab.

Then we clicked on `Family types` (near the Properties icon under the Model tab) and selected `New` and gave it the name `tree 19m`. We added a new parameter with the name `total height` with the formula: Height trunk + height crown + height top.

After this we opened first our document of our project area, that we made before. And zent back to the tree document and clicked on `load ‘into project` tab. Then back in our project document, we clicked on `create mass` tab and then on `component` tab and placed the trees into the project area.

Conclusion
Our vegetation can cause shadow on our site and if we place them correctly, they can reduce the input of the solar radiation on our buildings. We should consider putting the trees on the south part of the area. If we put broad-leaved trees, they will cause shadow in the summer and in the winter when they loose their leaves, the buildings can benefit from the sunlight and heating.
| Allegato | Dimensione |
|---|---|
| 328 KB |
