Tu sei qui
Revit Model Nesting
Dopo aver ottenuto le dimensioni di tutti i pezzi che compongono la mia facciata, so che si tratta di 36 pezzi disposti in maniera diversa, con un periodo positivo di 18 pezzi, tuttavia so che in realtà sono effettivamente 9 pezzi diversi che si ripetono specchiandosi, quindi tutto quello di cui ho bisogno è il disegno di 9 pezzi da mandare al taglio.
After obtaining the size of all the pieces that composes my facade, I know that it is made of 36 pieces arranged in a different way, with a positive period of 18 pieces, but I know that in reality are actually 9 different pieces that are repeated mirroring, so all I need is the drawing of 9 pieces to send to the cut.
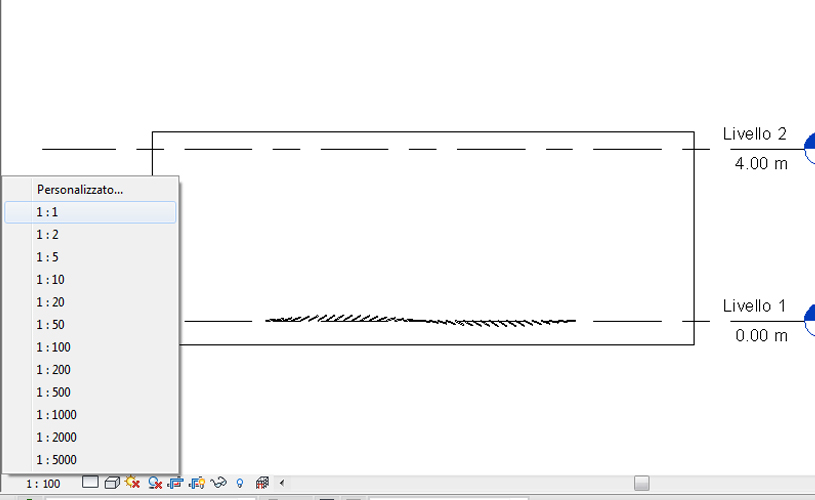
Per prima cosa, imposto nella vista in sezione la scala 1:1.
First thing, I set in the sectional view the scale 1:1
Poi vado nel project browser e clicco il tasto destro su "sheets" e clicco su nuova tavola
Then I go into the project browser and I click the right button on "sheets" and I click on "new table"
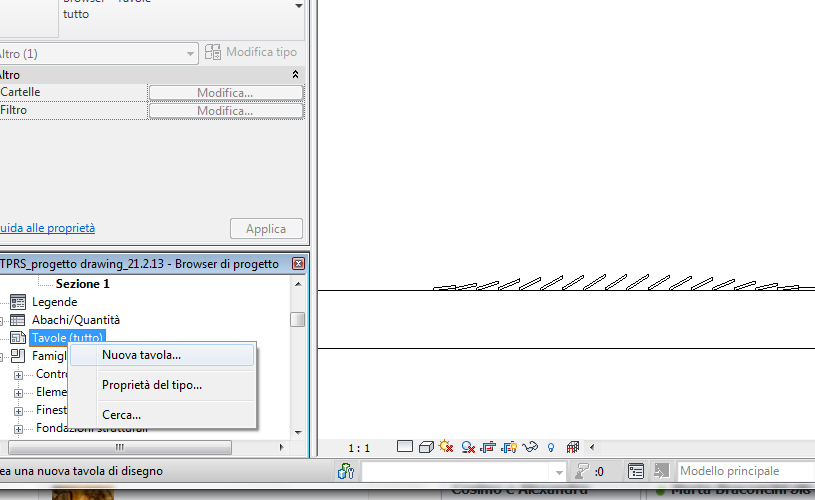
A questo punto clicco due volte sulla tavola appena creata sempre nel browser di progetto e mi si apre la vista della tavola, per metterci dentro la vista in sezione devo semplicemente selezionare con il click sinistro del mouse sul browser di progetto la mia vista in sezione e trascinarla dentro il foglio della tavola.
At this point I click twice on the table I have just created (always in the project browser) and I open the view of the table, to put in the section view I simply select with the left mouse click on the browser of my project-sectional view and drag within the worksheet table.
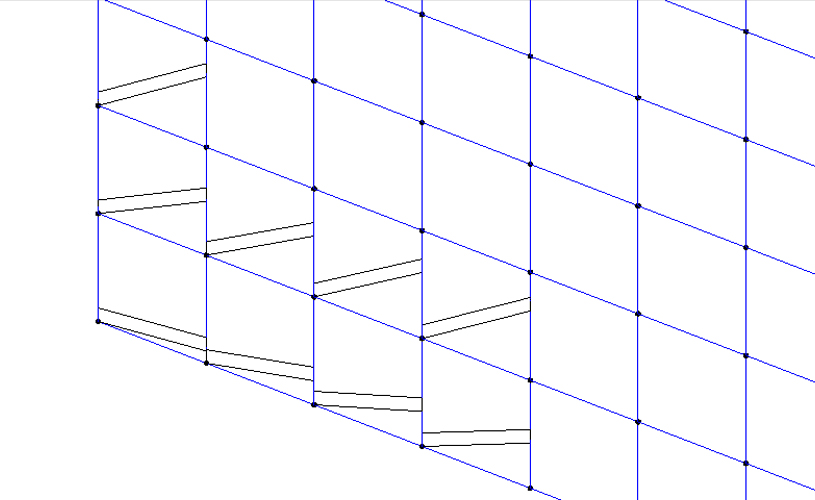
Qui i pannelli mi compaiono su una linea retta, mentre sapendo che me ne servono solo 9 li voglio mettere uno sopra l'altro, in modo che mi centrino dentro la tavola A0.
Here the panels appear to me in a straight line, while knowing that I just need 9 of them I want to put them one on top of each other in the table A0.

Per fare questo mi basta fare la modifica dinamica della massa aggiungendo una suddivisione orizzontale distante 20 cm da quella di base
To do this I need to use the dynamic modification of the mass by adding a horizontal division is 20 cm from the basic one

Ora posiziono nuovamente la mia famiglia adattativa di disegno in sezione dei pannelli rotazionali e cambio il numero in modo che la variazione nella rotazione avvenga da 1 a 9, il periodo che descrive tutte le rotazioni.
Now position again the adaptive family of adaptive cross-sectional drawing of the rotational panels and change the number so that the variation in the rotation takes place from 1 to 9, the period that describes all rotations.
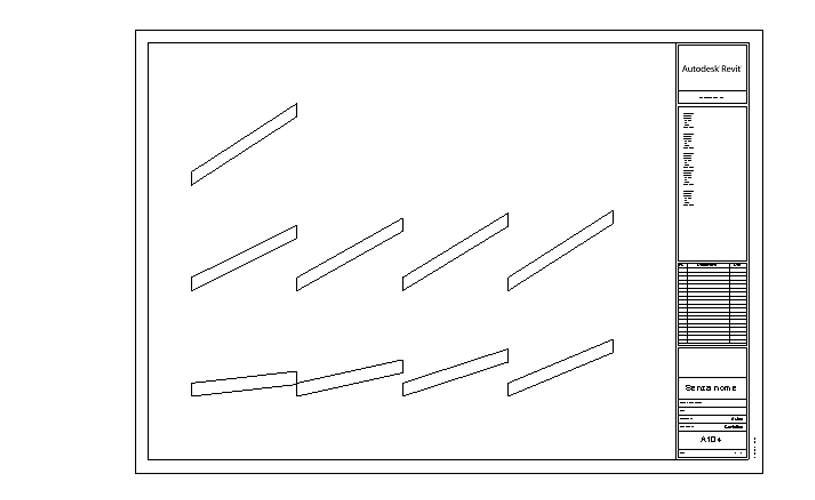
Torno sulla vista della tavola e vedo che tutti e 9 i pezzi stanno all'interno della tavola
I go back on the view of the sheet and see that all 9 pieces are on the board
Prima di salvare il lavoro ricordarsi di salvare il file utilizzando come unità di misura i millimetri!
Before you save your work, remember to save the file as a unit of millimeters!
Ora che ho la tavola devo esportare in formato DXF 2010
Now that I have the sheet I have to export it to DXF 2010
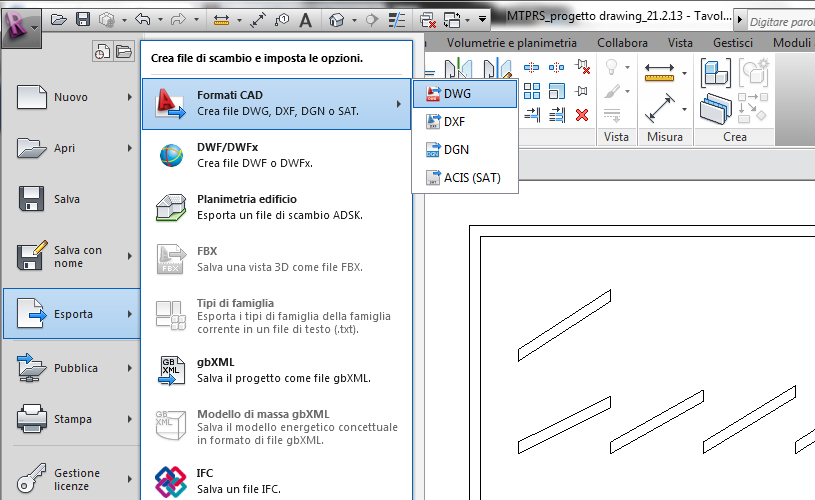
Qui mi avvalgo del programma MyNesting, un software open-source scaricabile da internet che trovo particolarmente facile da utilizzare, cliccando su "importing DXF parts" bisogna poi selezionare il file DXF appena creato, impostare millimetri come unità di lettura ed ecco qui tutti i pezzi ci compaiono uno ad uno!
Here I use the program MyNesting, an open-source software downloadable from the internet that I find particularly easy to use. By clicking on "importing DXF parts" you must then select the DXF file you just created, set millimeters as the unit of reading all the pieces and here there appear one by one!
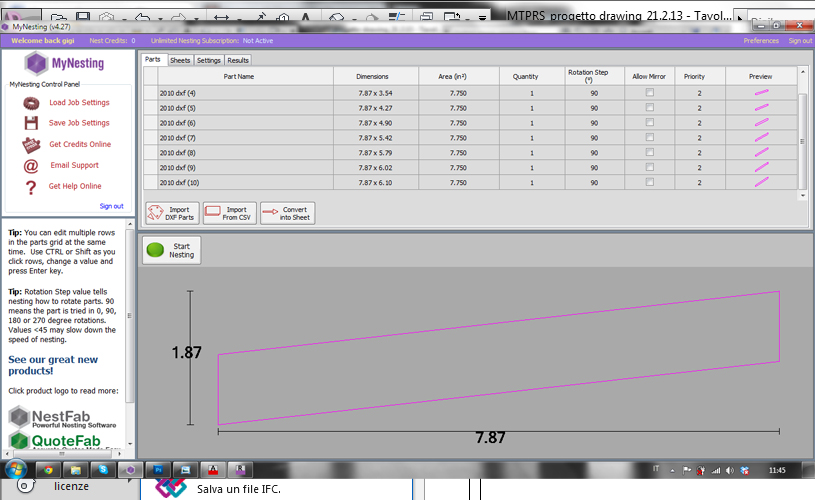
Ho avuto qualche problema con le unità di misura perchè non ho salvato il file in millimetri, ma facendolo dovrebbe funzionare tutto bene, adesso bisogna impostare la grandezza dello sheet di export in modo da utilizzare il foglio più piccolo possibile. Sfortunatamente tutto il programma utilizza le misure imperiali quindi è piuttosto scomodo andarsi a calcolare ogni volta le dimensioni che ci servono.
I had some problems with the units because I have not saved the file in millimeters, but if you do that it should work fine, now we need to set the size of the export sheet in order to use the package as small as possible. Unfortunately all the program uses imperial measurements so it is rather inconvenient to go and calculate each time the size we need.

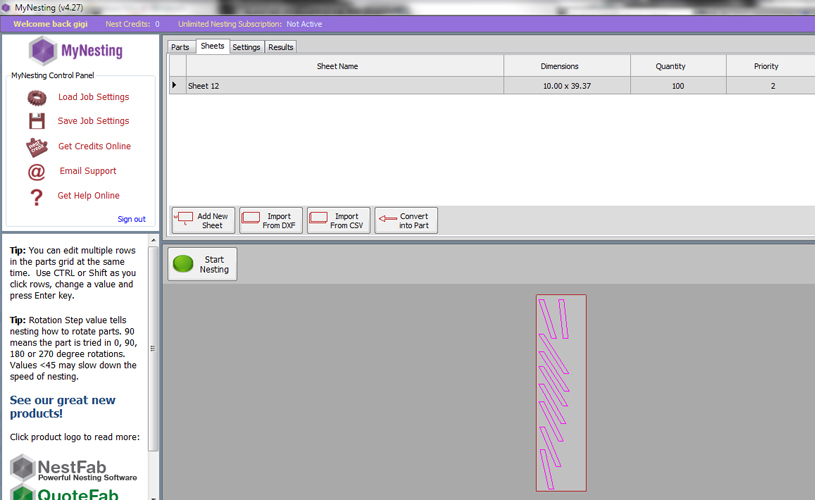
Andando nelle settings è possibile definire la spaziatura da pezzo a pezzo, in modo da permettere alla macchina di avere una tolleranza di taglio fra un pezzo e l'altro ed anche la direzione nella quale vogliamo disporre i pezzi. Ho minimizzato le dimensioni del foglio in modo da avere tutti i pezzi al suo interno ed ho cliccato su "start nesting".
Going into settings you can define the spacing from piece to piece in order to allow the machine to have a cutting tolerance between one piece and another, and also the direction in which we want to place the pieces. I have minimized the size of the paper so you have all the pieces in it and I clicked on "start nesting."
Sulla destra c'è il comando che permette di esportare il file, purtroppo una sola prova è gratuita e io già ci avevo provato tempo fa, quindi mi fermo qui con la spiegazione.
On the right there is the tool that allows you to export the file, unfortunately, only one test is free and I already had tried it long time ago, so I'll stop here with the explanation.